Quickstart
The main steps for launching Linked Documents, uploading files, and working with annotations
1. Open the workspace
Use the 'Show Linked Documents Pane' ribbon command in the 'Linked Documents' tab to open the task pane on the right-hand side of the Excel screen. Keep the task pane open while you import, review and reference PDFs.

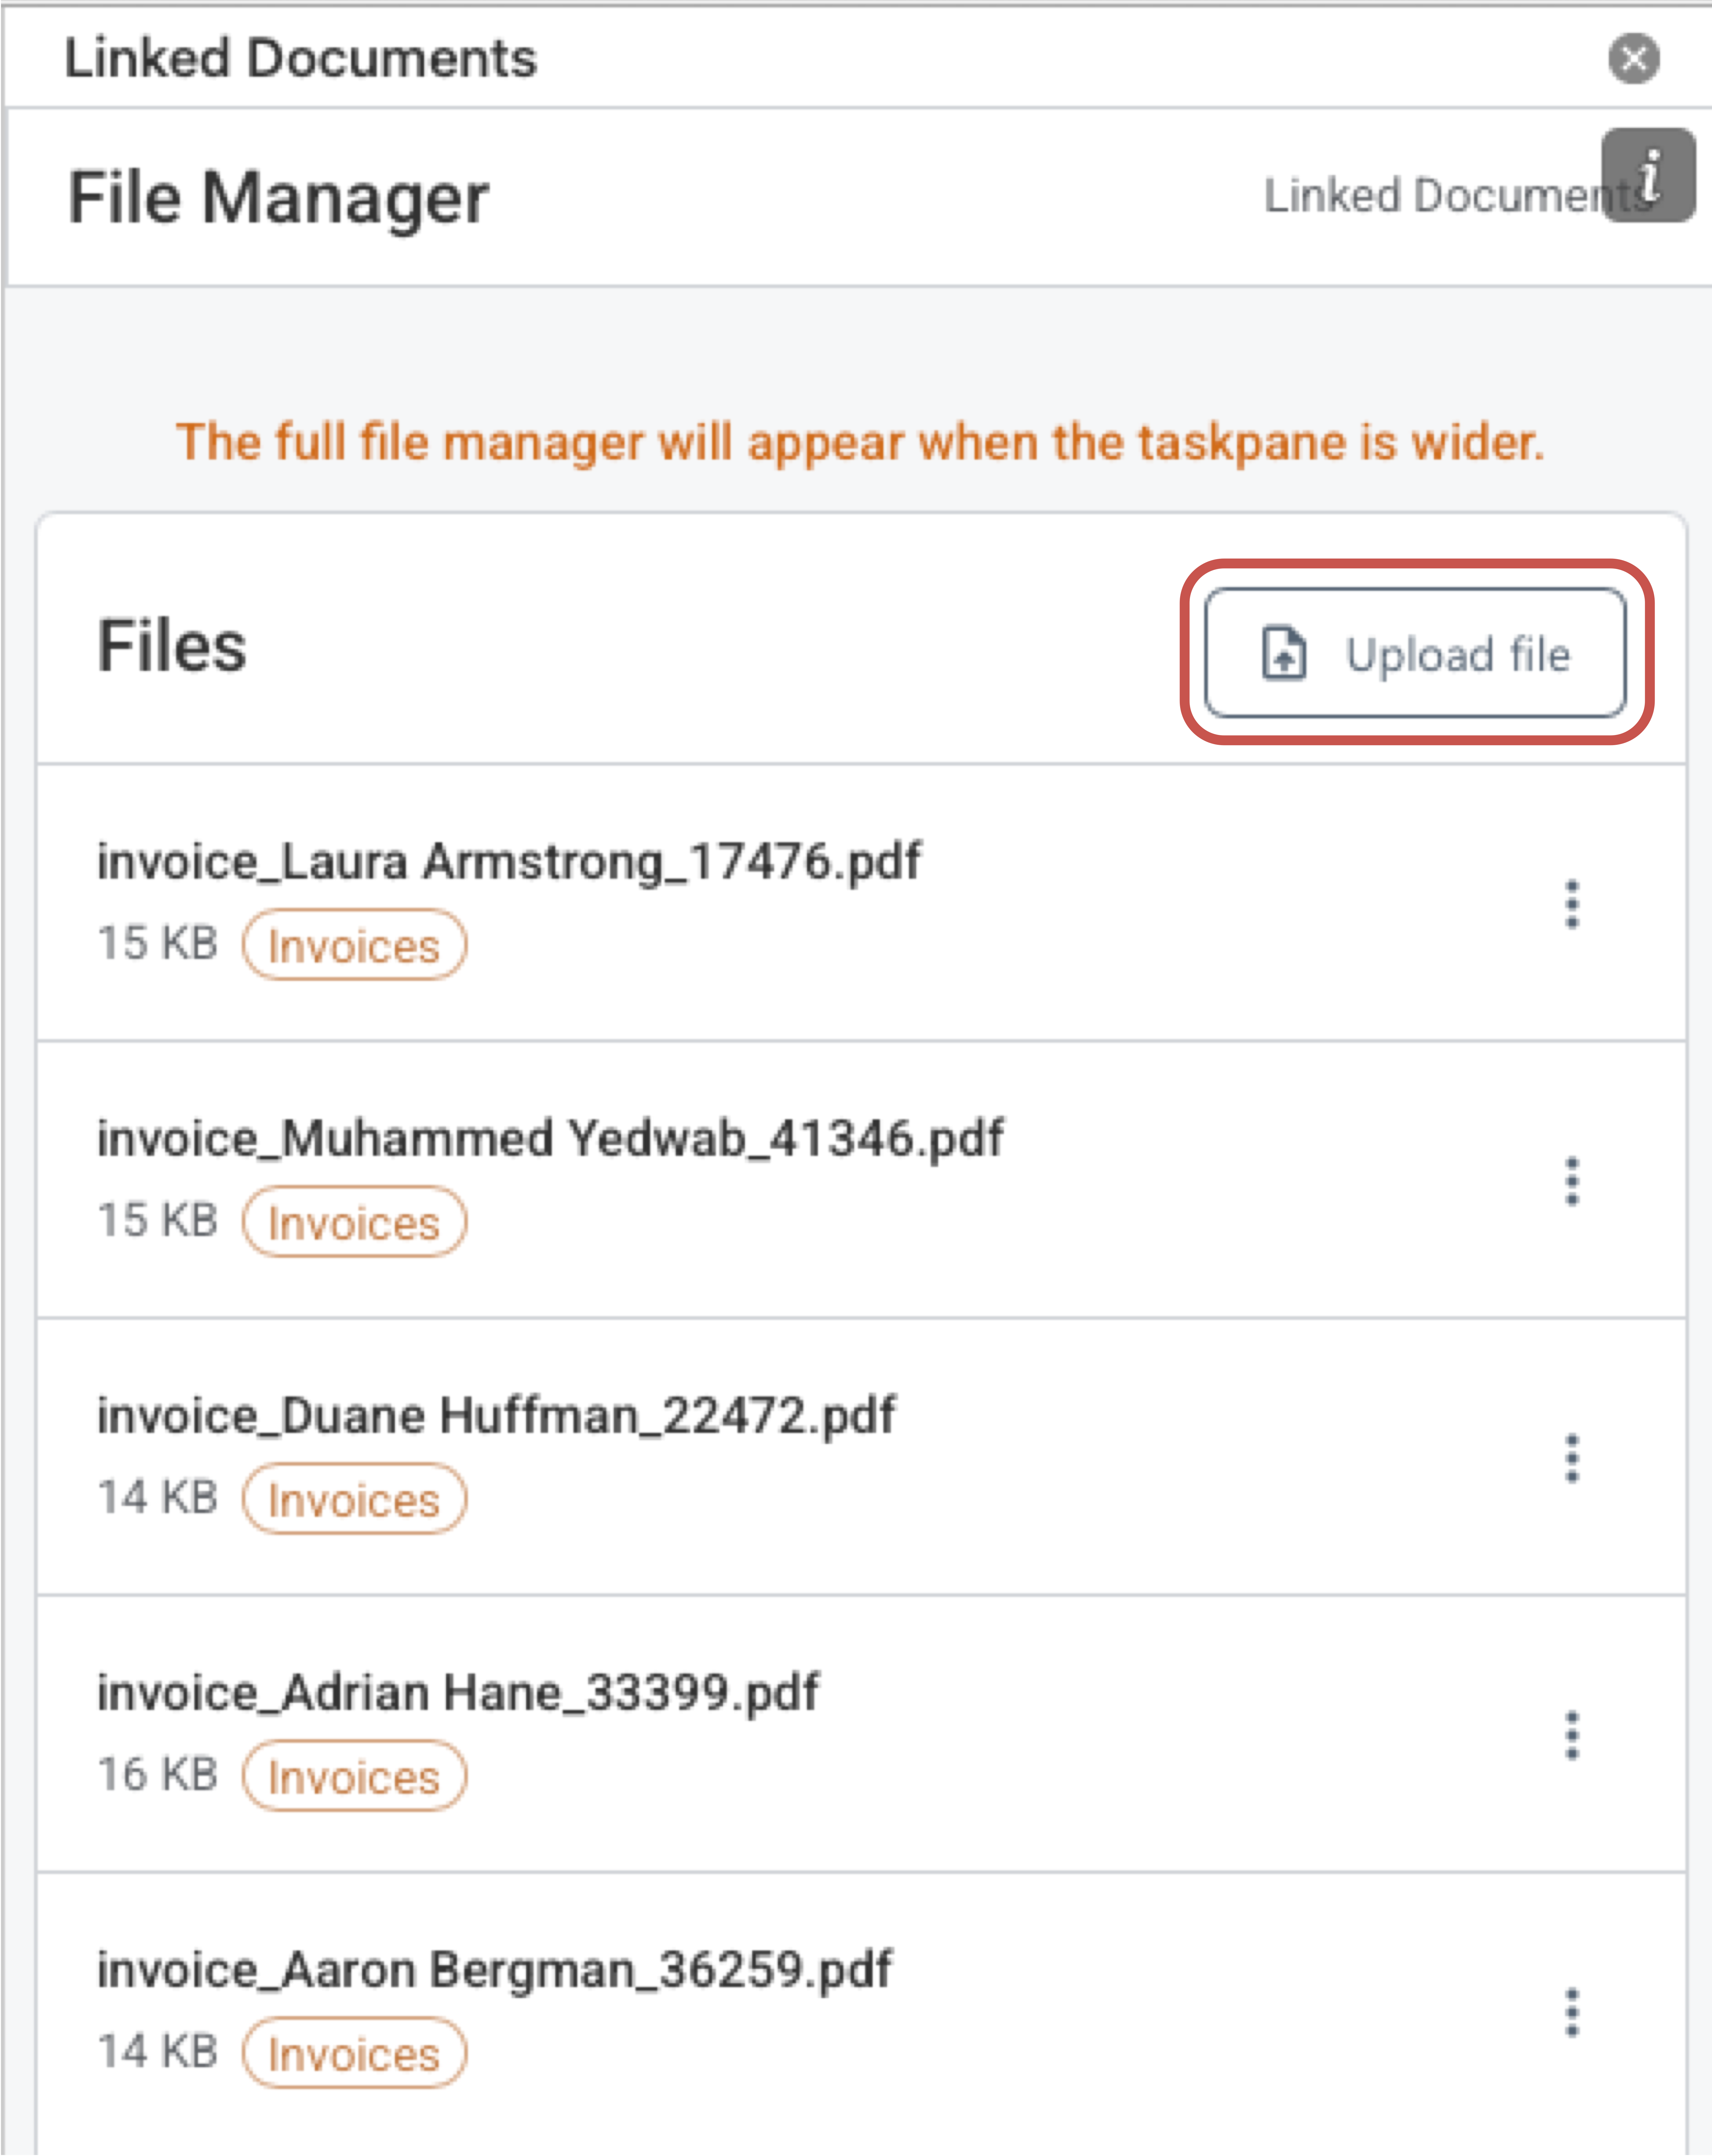
2. Import PDF files
Click the 'Upload file' button to import one or more PDF files into the File Manager. The app only accepts PDF files and will skip any non-PDF files during import. Consider converting non-PDF files to PDF format first. You can upload one or more files at a time.
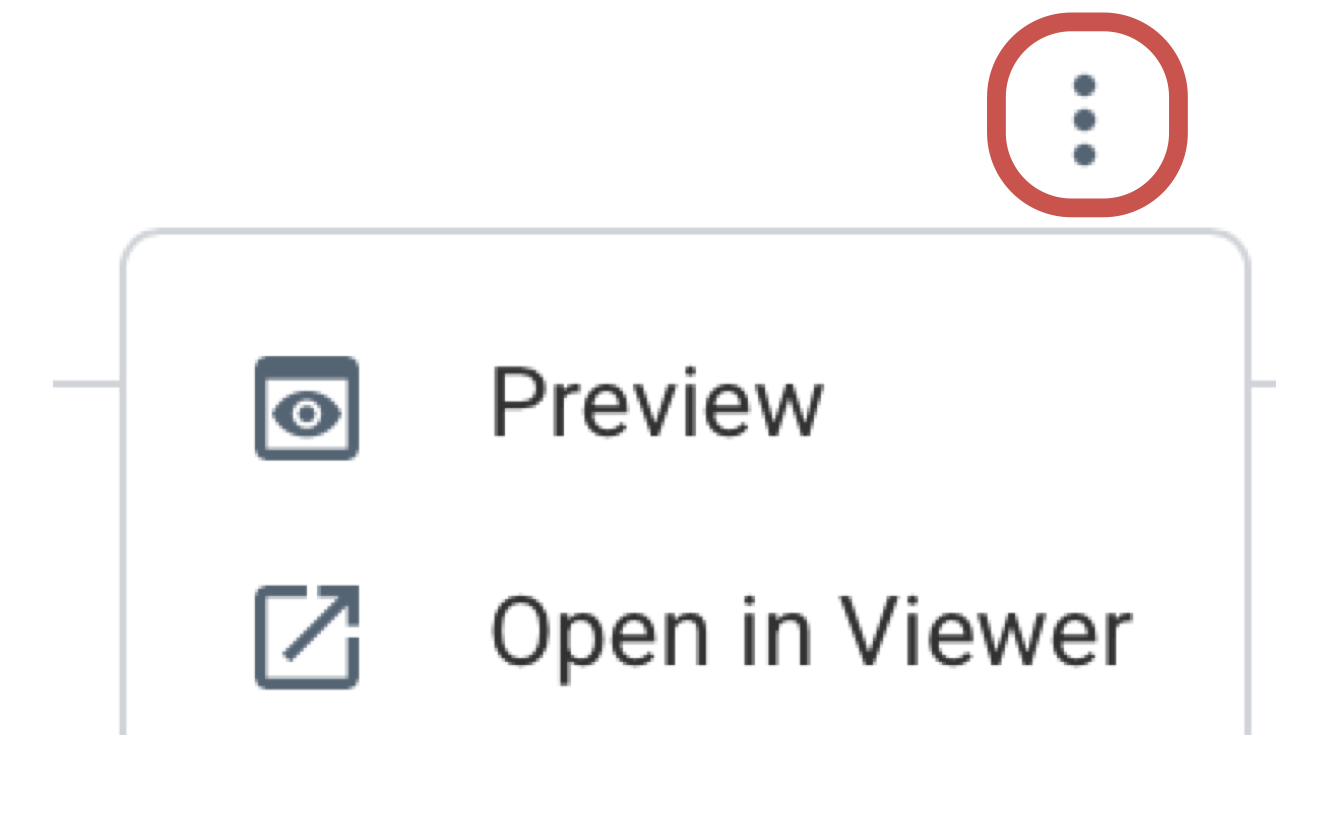
3. Open a file in the viewer
The following context menu commands are available for each document: use them to preview or open a document in the PDF viewer. You can also use the PDF viewer to add shapes, comments, text references or table references.
4. Add comments and annotations, create references and extraction outputs
Draw a region, extract text or tables into Excel, then use the named reference to navigate between workbook cells and the source PDF.